
Start With Surface Prep
An odd truth: the most dramatic mixed-metal cross nails begin with a nearly invisible base. A sheer nude or soft nude-sheer base gives the bright gold and polished silver crosses room to read as an intentional mixed-metal statement rather than clutter.
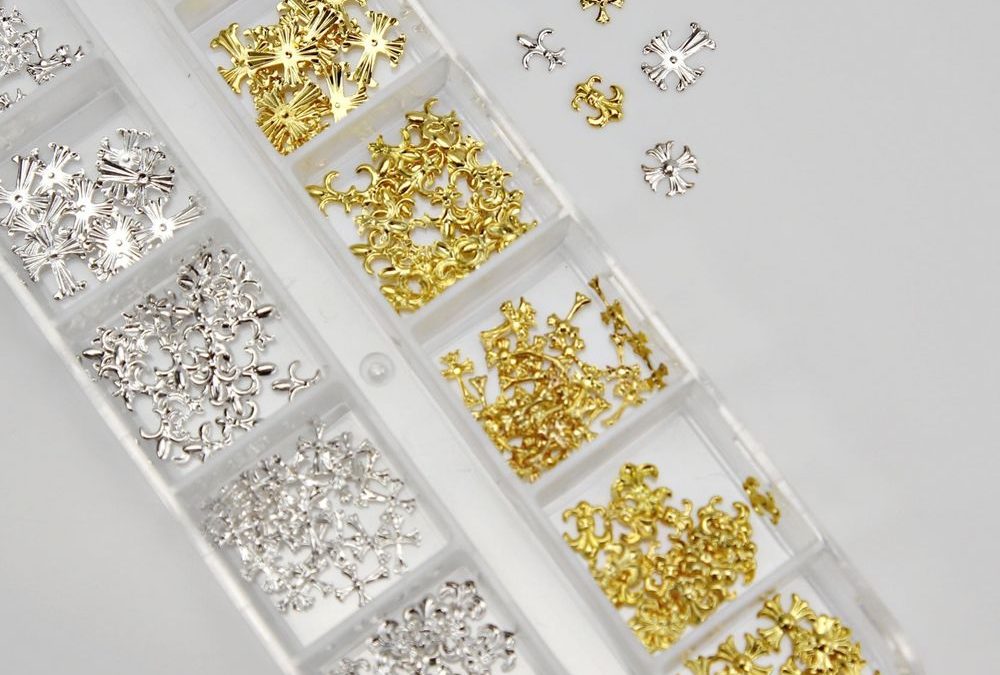
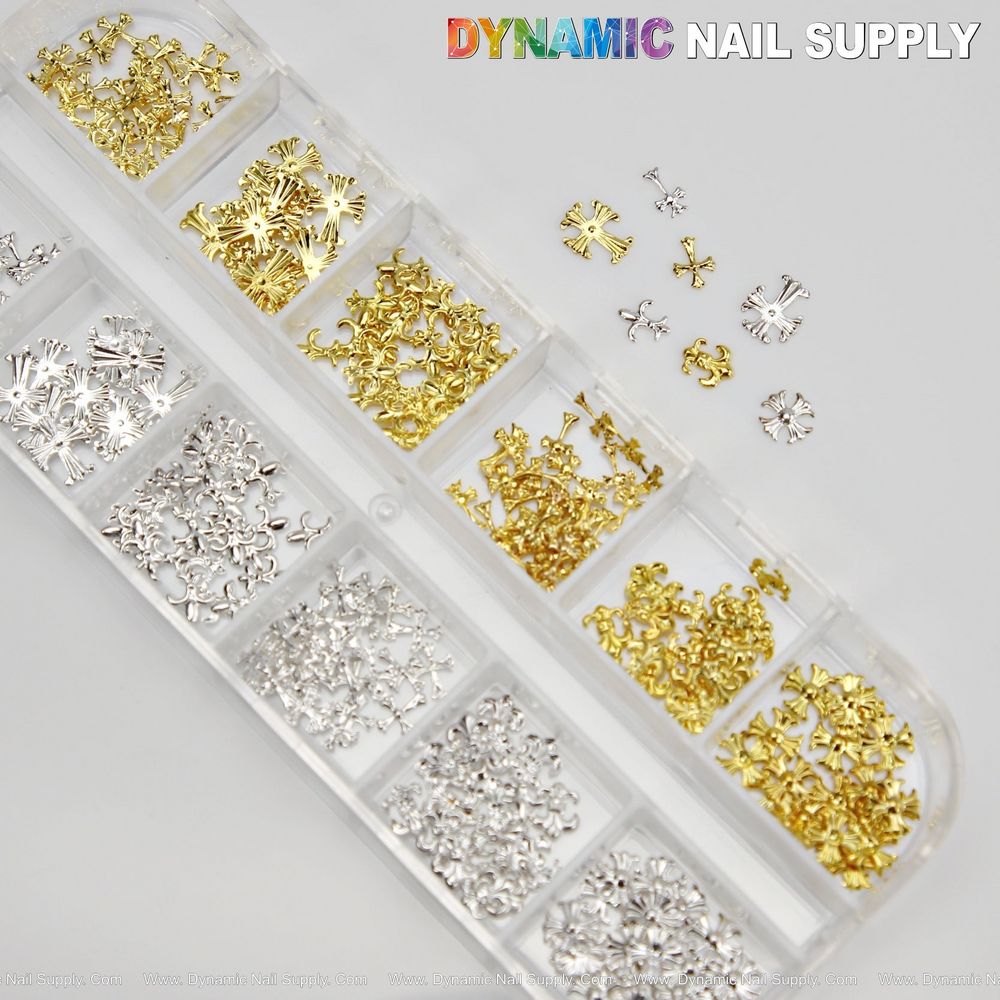
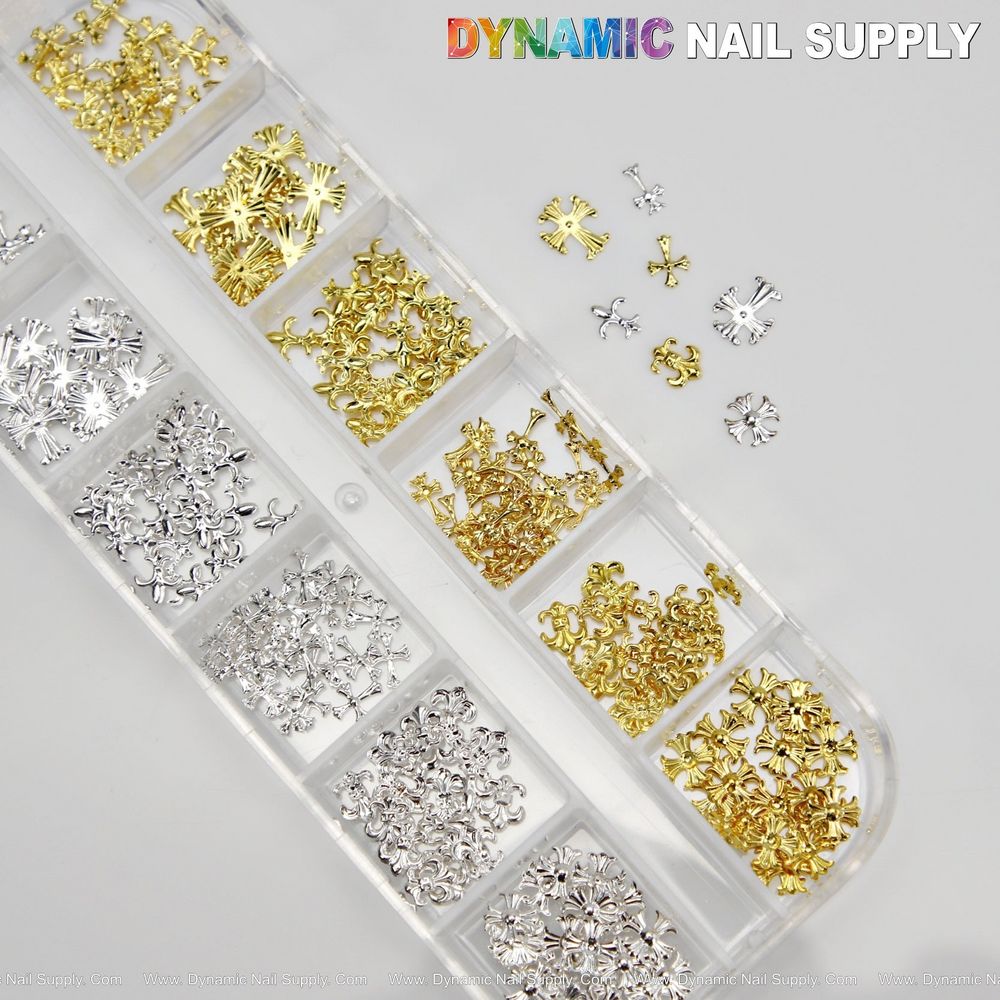
Choose a smooth, fully cured base—gel or lacquer—then remove dust with a lint-free wipe and isopropyl alcohol. Apply a thin, well-cured base coat if using gel; if using polish, finish with a glossy topcoat before placing metal pieces. For an easy reference when ordering, see Multi Shape Gold and Silver which shows this specific Multi Shape Gold and Silver design in a clear compartment tray.
Common mistake: Skipping alcohol wipes; oils and tiny dust particles push tiny charms off within days.
Avoid Rushing Prep
Don’t skip shape and length checks. If a charm sits too close to a free edge the stress of daily wear lifts it. Don’t place larger crosses where the nail flexes—near tips or joints on long natural nails.
Place Charms With Purpose
Do plan a focal layout before adhesive. The Multi Shape Gold and Silver set includes multiple cross silhouettes and small fleur details, shown separated in a clear tray for easy picking. For balanced mixed-metal nails, mix one gold cross with one silver cross on the same accent nail, or use a single metal piece centered on a nude base for a minimalist look.
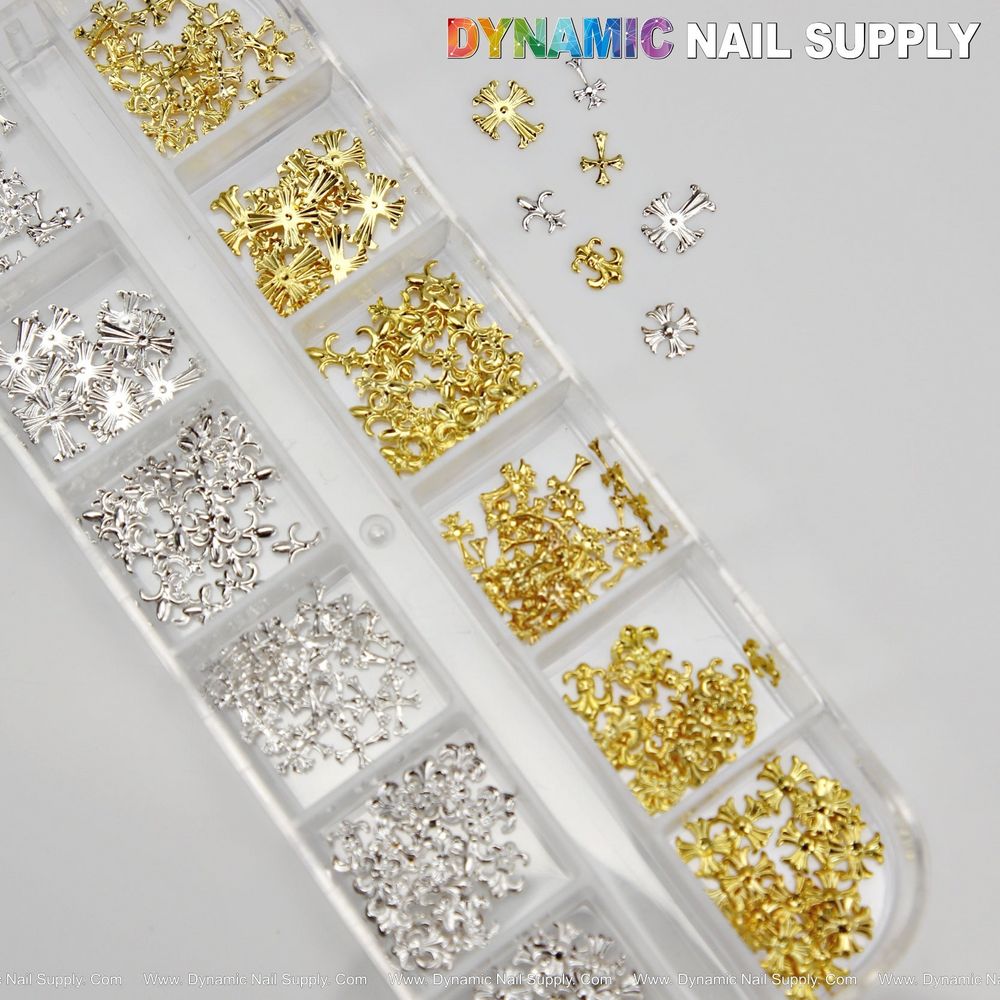
Use fine tweezers or a wax picker for precise placement. Positioning tips: place the largest element first, then add smaller ornaments to anchor visual weight toward the nail center.
Avoid Random Clustering
Don’t scatter different shapes without a visual plan. Random clusters often look busy on the short nail canvas. If creating a cluster, limit to three elements and choose a dominant metal to avoid visual conflict.
Choose the Right Adhesive
Do use an adhesive matched to the system. For gel systems, apply a small bed of builder gel or a no-wipe gel topcoat, set the charm in place, then cure. For regular polish, use salon-grade nail glue sparingly; a drop at the charm’s center reduces squeeze-out. The clear multi-compartment tray in the set keeps pieces clean so adhesives bond predictably.
Avoid Overuse of Glue
Don’t glob glue under every charm edge. Excess adhesive squeezes out and dulls metallic shine. Also avoid instant-cure adhesives that create white residue on some topcoats—test on an inconspicuous sample first.
Seal and Shine Correctly
Do choose a topcoat compatible with metal charms. For a mirror-like finish that complements the high-shine gold and silver, use a glossy gel topcoat cured fully. If using matte effects, apply matte topcoat only to surrounding nail, leaving the metal accents glossy by sealing around rather than over them.
When sealing, apply thin layers around the charm base and avoid trapping air bubbles beneath the piece. A gentle nail brush can smooth gel around edges before curing.
Avoid Dulling the Metal Finish
Don’t sand or buff the face of the metal to force adhesion; the set’s chrome-like surface reflects light strongly and should remain intact. Aggressive buffing removes the polished finish and reduces the luxe contrast between gold and silver.
Clean Up Adhesive and Edges
Do remove any cured adhesive filaments with a pointed orangewood stick or a small precision file at a low angle. If glue residue discolors the metal, a microbrush with isopropyl alcohol will often lift residue without harming the chrome-like finish.
Avoid Harsh Chemicals
Don’t use acetone directly on the metal pieces to remove cured adhesives: prolonged exposure can affect plating and shine. Use minimal solvent and test off-nail first.
Store Charms Safely
Do keep the Multi Shape Gold and Silver set in its clear compartment tray. The separated compartments protect small silhouettes and help maintain the mirror finish. Store in a cool, dry drawer away from humid tools and acetone vapors.
Avoid Loose Storage
Don’t dump charms into a shared box where pieces rub and scratch each other. Mixed-metal sets show wear quickly if metals contact abrasive items in storage.
Safety note: these are tiny metal pieces—keep away from children and pets to avoid accidental ingestion.
Price note: the set is listed at $5.99; prices may change.
Next step: choose a nude or sheer base, lay out a test composition on a practice tip, and pick an adhesive system before working on client nails or your own accent nail.