
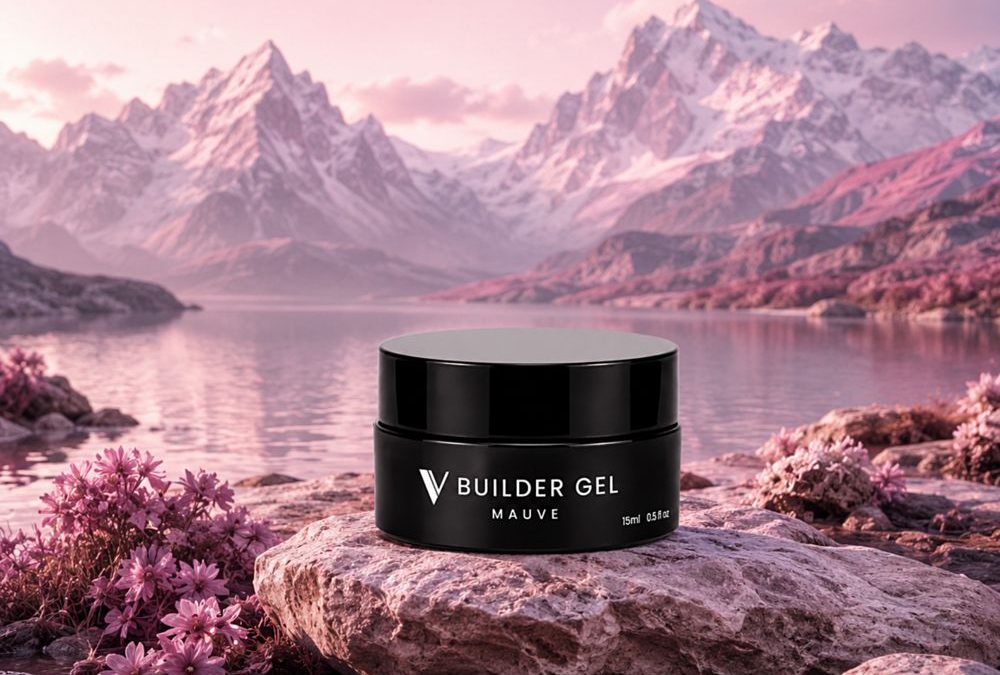
Unexpectedly, the easiest way to make natural nails read finished and durable is not thick sculpting but a deliberately thin, translucent layer. The mauve tone in this builder gel reinforces the nail plate while adding a subtle, wearable tint—an ideal compromise for home mani fans who want strength without heavy length.
Prep: Do clean and map the nail
Do remove old polish, oils and surface shine using a gentle alcohol wipe or a non-acid dehydrator. Lightly push back cuticles and trim only excess skin; avoid aggressive cuticle removal that thins the nail fold. File free edges to the desired almond or natural shape and tidy the sidewalls so the gel sits flush along the contour.
Common mistake: skipping a light buff to remove shine. A completely glossy natural nail prevents adhesion, so a fine grit buffer is sufficient—don’t over-buff.
Prep: Don’t flood the cuticle or overload the apex
Don’t apply a heavy base or flood gel into the cuticle area. For a sheer mauve overlay manicure, thin even coverage preserves translucency and avoids an artificial bulk. Use small beads of the medium-viscosity product and bring the gel to the free edge without touching the skin.
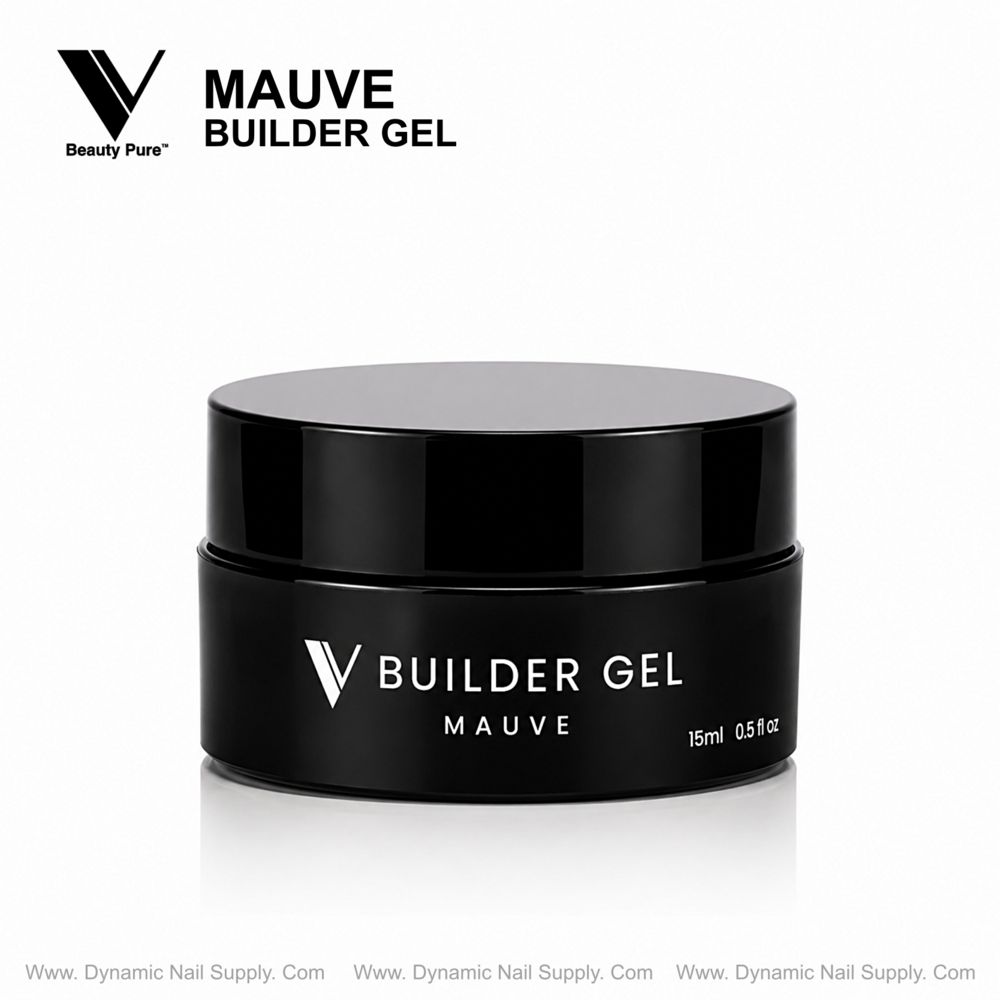
Application: Do use controlled beads and self-leveling
Do work with the gel’s medium viscosity. Place a small bead in the center, then guide it toward the sidewalls and apex with gentle strokes. Take advantage of the self-leveling formula: allow the gel to settle, then refine the profile before curing. For reinforcement without extension, aim for a thin-to-medium overlay that leaves the nail bed slightly visible through the mauve tint.
Work in thin layers for overlays and fills; thin passes build strength while preserving the graceful translucency shown in the product imagery. If using forms or tips for length, sculpt the apex deliberately and cure each sculpted segment as recommended for hard gels.
Application: Don’t rush curing or layer too thickly
Don’t try to shortcut by applying one thick pass. Thick layers cure unevenly and increase finish filing. Cure each thin layer fully under a UV/LED lamp and check for tackiness only after the correct cure time. Over-curing is less common than under-curing with hard gels, but always follow lamp guidelines for the product type.
Cleanup: Do remove inhibition layer and refine gently
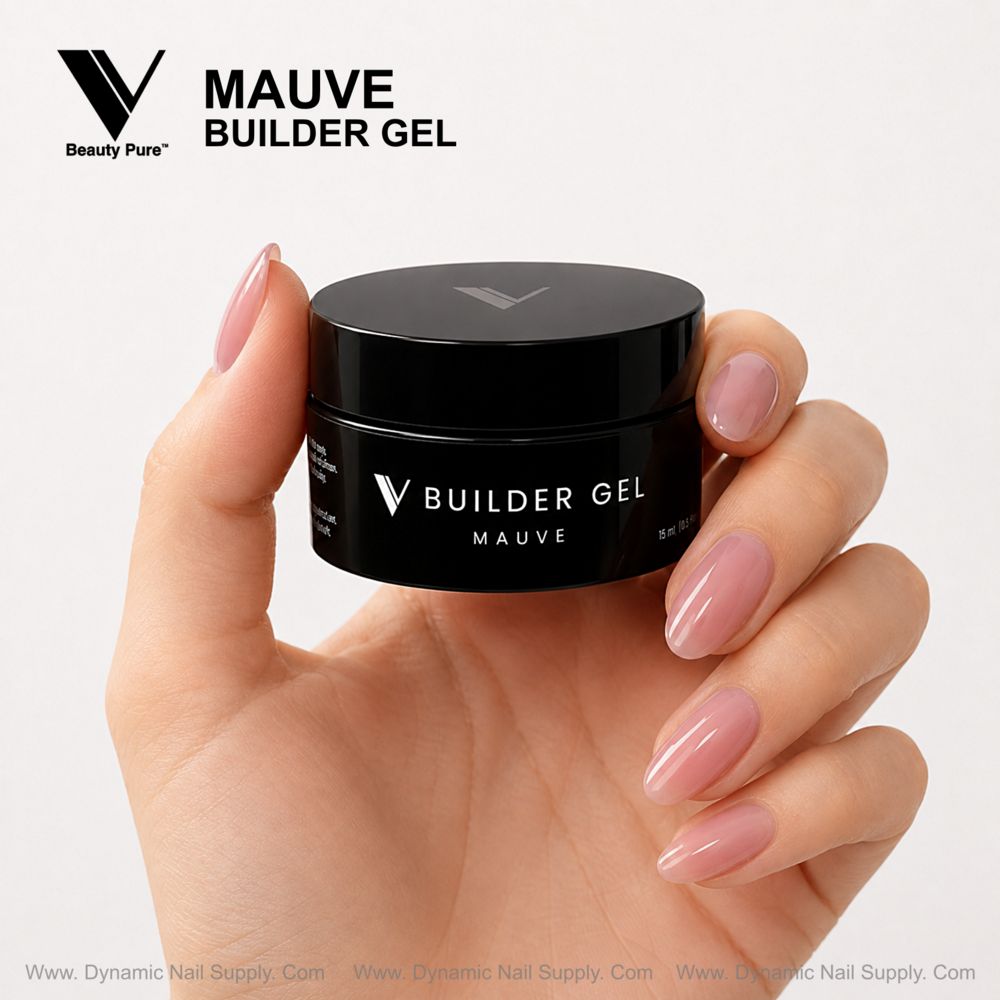
Do clear the inhibition layer with a lint-free wipe and the appropriate cleanser after final cure to reveal the high-gloss mauve sheen. If light filing is needed to perfect the silhouette, use fresh bits or a fine file and work sparingly—the gel’s self-leveling minimizes filing requirements compared with denser gels.
Cleanup: Don’t over-file the surface
Don’t sand the surface aggressively to chase shine. The mauve overlay pictured is deliberately translucent and glossy; excessive abrasion will thin the enhancement and dull the depth of color. If the surface is uneven, correct with targeted low-pressure filing, then cleanse and apply a thin top coat if required.
Storage: Do keep product cool and sealed
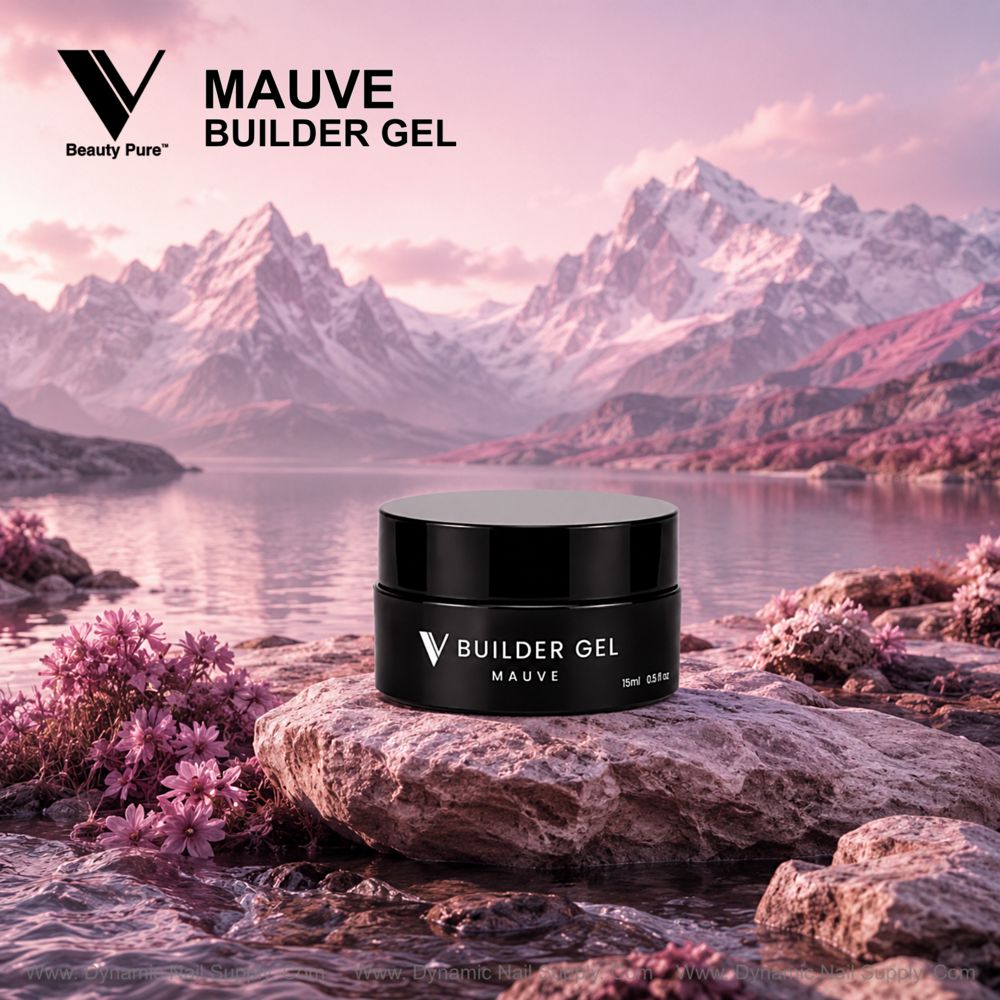
Do store the mauve builder gel in its opaque jar with the lid closed to protect the resin from light and dust. Keep jars upright in a cool, dry place away from direct sunlight. A clean workstation and consistent storage help maintain the gel’s smooth reflective finish and medium viscosity.
Storage: Don’t expose to heat or contaminants
Don’t store near heat sources or open solvents. Contaminants and elevated temperatures can alter viscosity and curing behavior. If the gel thickens or shows particulate matter, retire that jar rather than trying to thin it—safety and predictable workability matter more than squeezing out a single low-quality batch.
Final reminders and safety notes
- Wear nitrile gloves if you have frequent exposure and ventilate the work area; avoid skin contact with uncured gel.
- Cure in appropriate lamps for hard-gel formulas and follow equipment instructions.
- Check the product volume and price before ordering; current listings show this mauve option at about $24.74, prices may change.
For a polished, natural result keep each step intentional: thin passes, careful curing, minimal filing, and secure storage together create the nearly sheer mauve-pink finish seen on elongated almond nails in the product image. The next step is to place a small practice overlay on one hand to confirm cure times and handling before offering the look on both hands.