
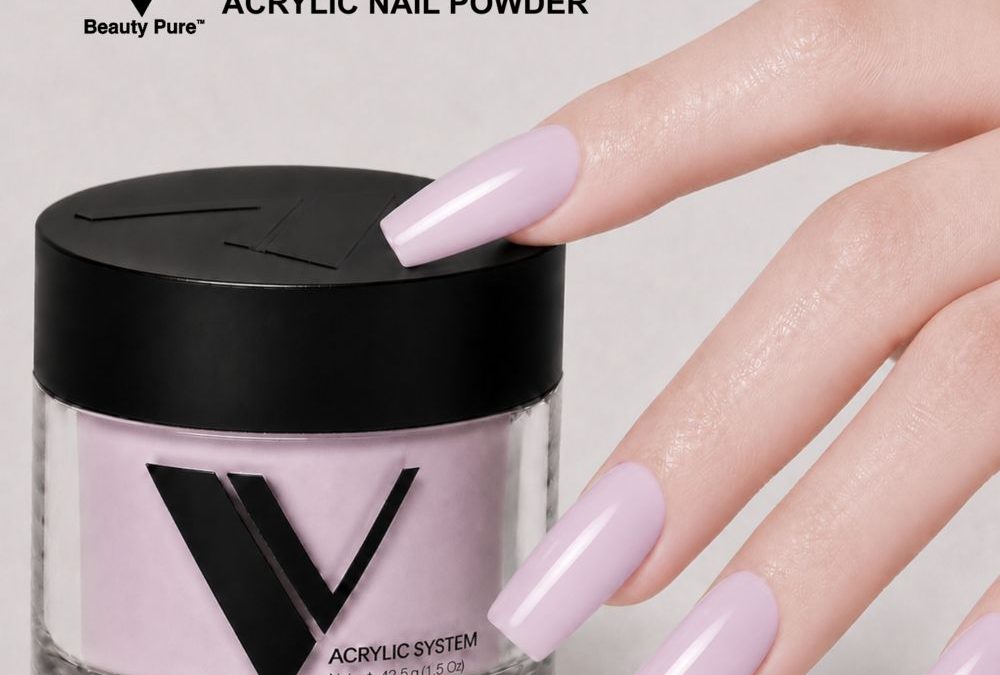
An unexpected advantage of working with a true pastel like Cotton Candy is how forgiving the tone is when transitioning from natural nail to full-coverage tip: the soft lavender-pink reads cohesive even when bead placement varies slightly. This tutorial lays out clear do’s and don’ts for prep, application, cleanup and storage so a salon owner’s workflow produces repeatable cotton candy pastel ombré nails.
Prepare the natural nail: do
- Do clean and dehydrate the plate with a lint-free wipe and professional cleanser to remove oils that interfere with adhesion.
- Do push cuticles back gently and lightly buff the natural surface with a 180-240 grit to remove shine; keep the prep conservative so the final finish remains glass-like.
- Do choose a silhouette and tip length before mixing; the Cotton Candy pastel reads best on coffin or soft-square shapes for an elegant fade.
- Do organize powders in small jars and label them to avoid cross-contamination during a multi-step ombré service.
Prepare the natural nail: don’t
- Don’t over-file the nail plate; aggressive abrasion risks thin, uneven areas that telegraph through a pastel overlay.
- Don’t apply primer to oily skin areas—target only the plate where the product will bond.
- Don’t mix a heavy primer with excessive monomer at the prep stage; it will speed set time unpredictably.
Apply the Cotton Candy blend: do
Do work with medium-sized beads and a damp, professional brush for the controlled drag technique needed to blend from natural to pastel tip. Use the Cotton Candy acrylic powder for its creamy opaque finish and self-leveling behavior; place a small sheer bead over the lunula graduating to larger, more pigmented beads toward the free edge. Pinch lightly after the initial set if sculpting long coffin shapes to refine the silhouette.
Common mistake: Placing uniformly sized beads across the plate instead of graduated beads — this produces a hard line rather than a soft fade.
Apply the Cotton Candy blend: don’t
- Don’t overload the bead with monomer; too wet a bead will flatten and lose pigment control, making the pastel muddy.
- Don’t wait too long to blend adjacent beads; the Cotton Candy formula performs best when beads remain tacky enough to feather.
- Don’t attempt dramatic opacity in a single pass; build coverage in thin layers to preserve the creamy, high-gloss look.
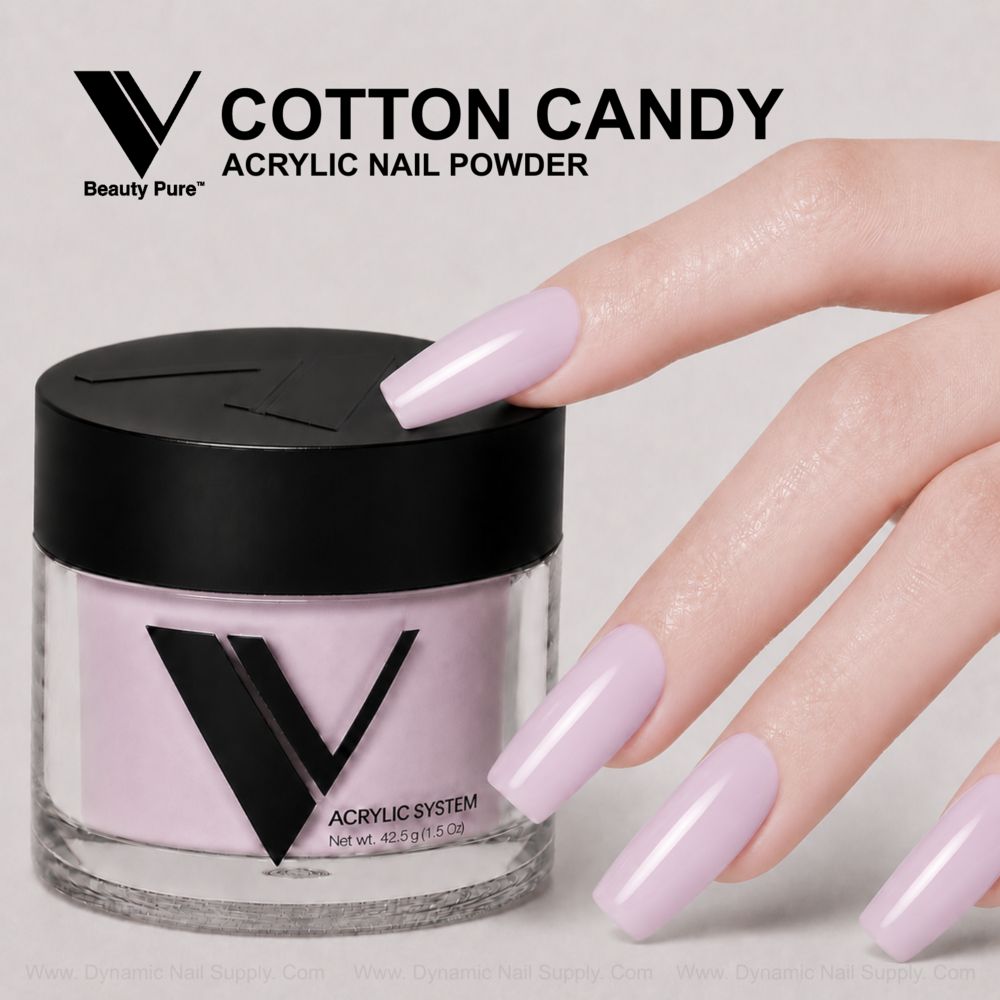
For reference and sourcing details, see the recommended product here https://dynamicnailsupply.com/products/v-beauty-pure-cotton-candy-acrylic-powder
Clean up after sculpting: do
- Do remove excess dust with a soft brush and then wipe with a lint-free pad and cleanser before final filing to keep the surface clear for shine.
- Do refine the shape with progressive grits, finishing with a 240-320 for a smooth canvas ready for buffing or polish.
- Do use a glass-like top coat applied in thin, even layers to preserve the high-gloss finish that complements the opaque Cotton Candy pastel.
Clean up after sculpting: don’t
- Don’t over-buff the pastel surface; removing too much will mute the delicate lavender-pink and reduce opacity consistency.
- Don’t use coarse tools for final refinement; aggressive filing can create visible ridges under a glossy top coat.
Store and care for the powder: do
- Do keep the jar tightly closed when not in use and store in a cool, dry place away from direct sunlight to maintain consistent texture and color.
- Do label jars with product name and net weight (Net wt. 42.5 g shown on the jar) if decanting into secondary containers used at the station.
- Do rotate stock and check jars for clumping before a client appointment so the pastel blends predictably.
Store and care for the powder: don’t
- Don’t leave the lid off for extended periods; airborne moisture and dust change bead formation and workability.
- Don’t mix different pastel jars inside one container; cross-contamination alters the Cotton Candy identity and makes color matching inconsistent.
Finish each service by confirming the ombré reads seamless at arm’s length: the Cotton Candy pastel should transition naturally from the nail bed to the tip without visible stops. One next-step action: practice a three-nail fade on a tip wheel to refine bead sizes and timing before booking clients.