
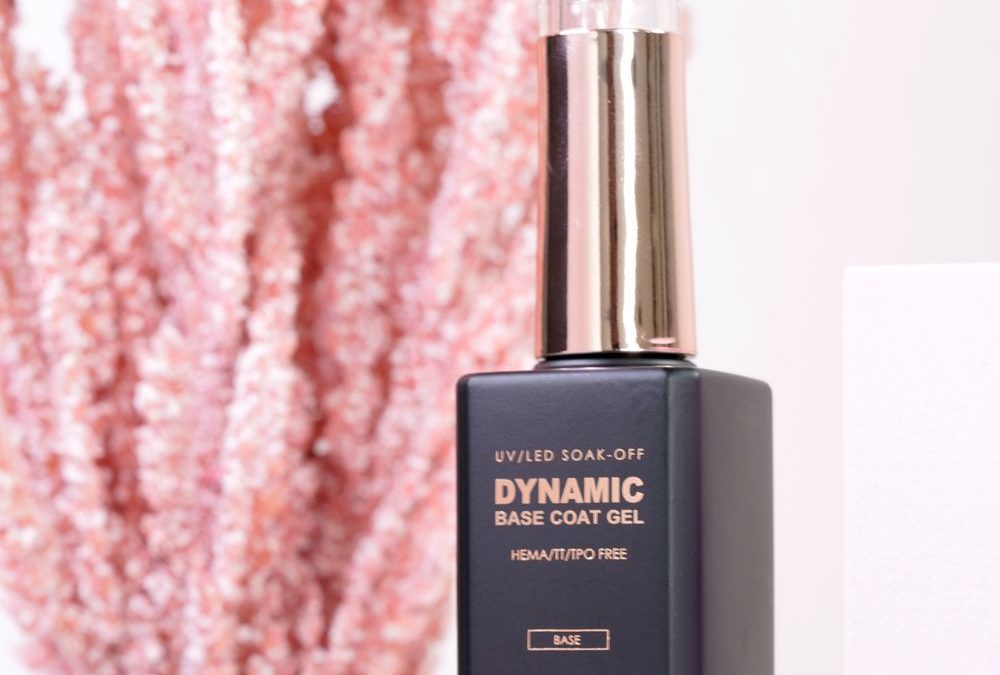
Unexpectedly, the first barrier to a long-lasting gel manicure is not the color polish but the layer beneath it. A lightweight, bond-focused base coat can prevent lifting and irritation—if it’s handled correctly. This article outlines clear do’s and don’ts for prepping, using, cleaning up, and storing a no-HEMA base coat gel so home nail fans get professional-level results without guesswork.
Prepare Nails Correctly
Do: clean and dehydrate the nail plate
- Begin with clean hands and tools. Remove any old polish, oils or lotions using an acetone or non-acetone remover as preferred.
- Gently buff the shine with a 180–240 grit buffer to create a matte surface; this improves adhesion without thinning the nail excessively.
- Wipe each nail with an alcohol-based cleanser to remove dust and natural oils before applying any gel product.
Don’t: over-file or skip cuticle work
- Avoid aggressive filing of the nail plate; over-thinning weakens natural nails and compromises bond strength.
- Do not leave lifted cuticle skin in place. Push back and remove excess cuticle to prevent gaps that lead to premature lifting.
Common mistake: Excessive buffing to „make it stick“—it often creates a paper-thin nail that lifts sooner.
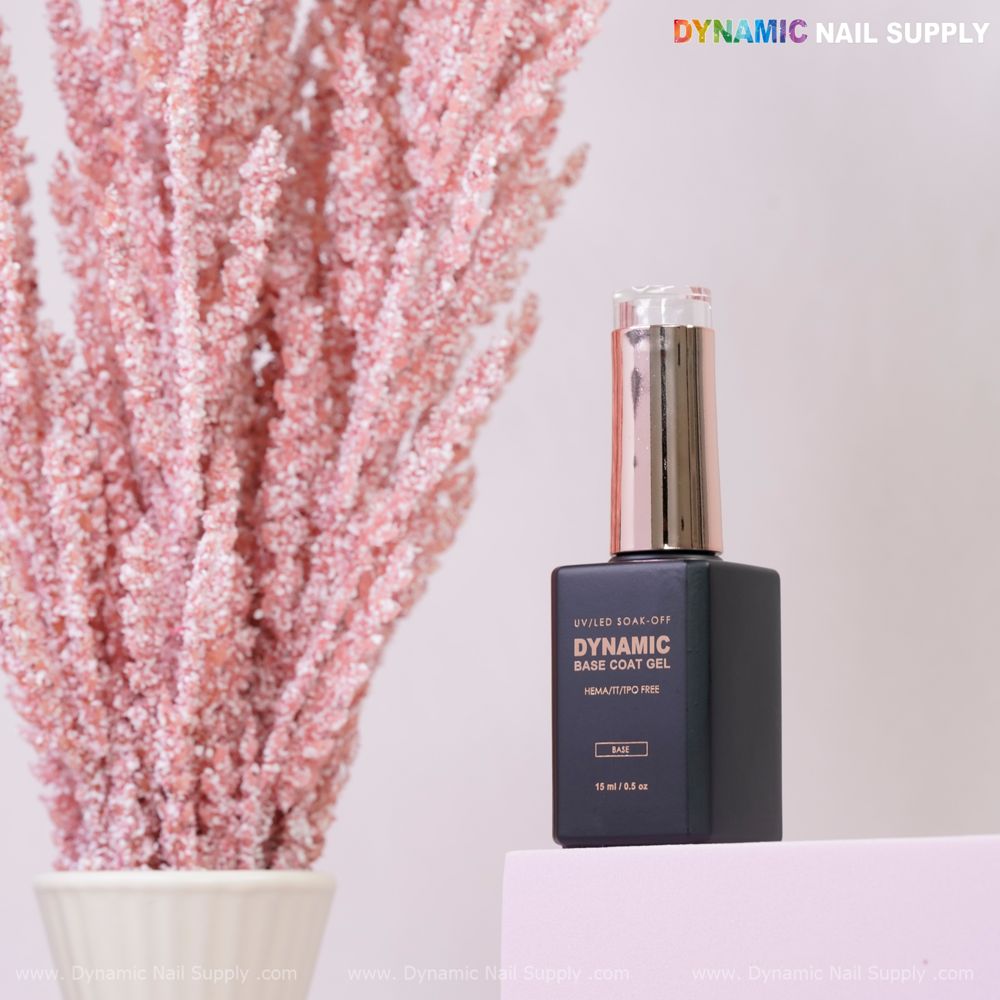
Apply Base Coat Properly
Do: use a thin, even layer and follow cure times
- Shake or roll the bottle gently to mix. Dispense a small amount to the brush and apply a thin, full-coverage coat from cuticle to free edge.
- Cap the free edge by brushing the tip horizontally to seal and reduce chipping.
- Cure under LED for the recommended 30 seconds or under UV for 60 seconds to ensure the layer polymerizes correctly.
Don’t: flood the cuticle or apply heavy layers
- Avoid pooling product at the cuticle; too much gel increases risk of lifting and skin contact.
- Do not apply multiple thick coats to compensate for coverage—thin, controlled layers bond better and cure more reliably.
Common mistake: Applying a thick coat to hide imperfections; a self-leveling base is designed to even out minor flaws when used sparingly.
Clean Up After Application
Do: remove uncured residue and inspect the cure
- If there is any tacky inhibition layer, follow the product routine for wipe-downs using the manufacturer-recommended cleanser or isopropyl alcohol.
- Check each nail under good light for pooling, missed edges, or skin contact; correct small errors before proceeding to color.
Don’t: force cured product or skip sanitation
- Never peel or forcibly lift cured gel; this removes layers of natural nail. File or soak as appropriate for removal.
- Do not neglect tool sanitation after use. Wipe brushes, caps and bottle rims to prevent contamination of the product.
Common mistake: Leaving cured product on the brush or cap—dried gel can contaminate future applications and affect texture.
Store and Handle the Bottle
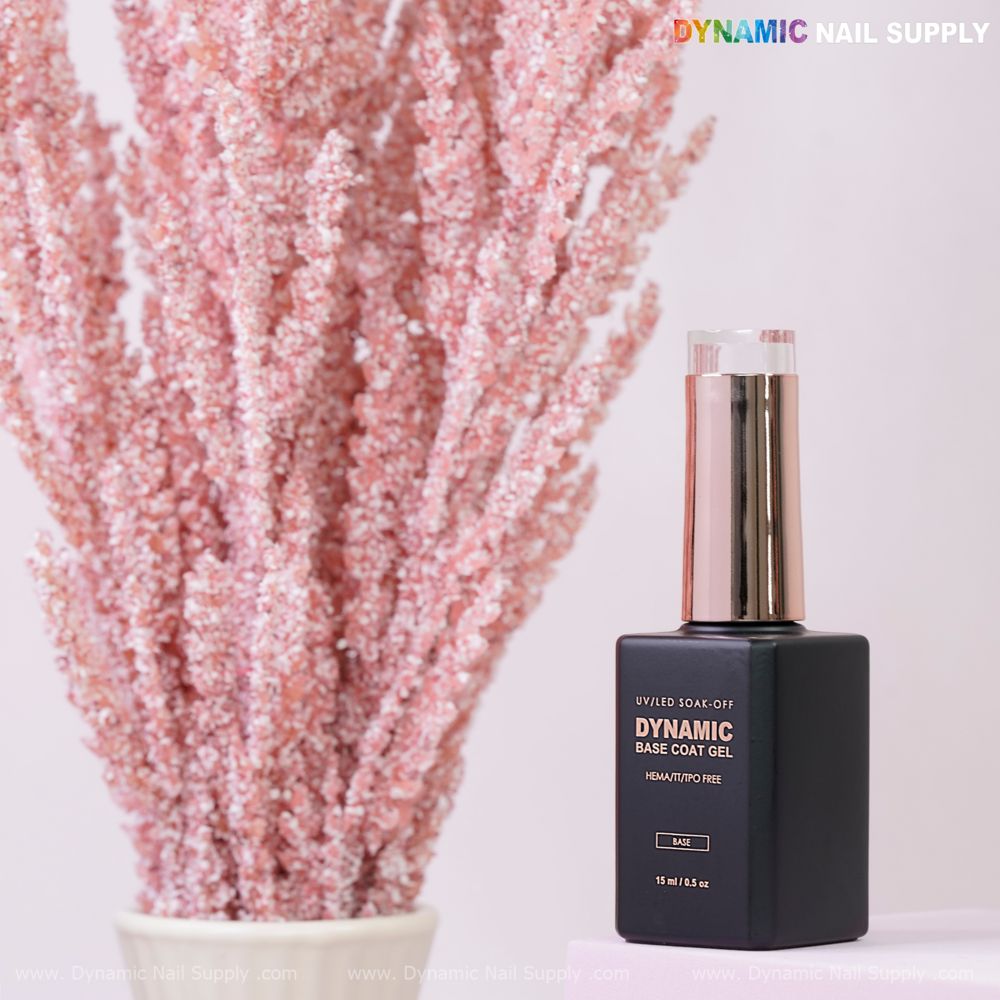
Do: keep the bottle upright and at stable temperature
- Store in a cool, dark place away from direct sunlight and intense heat to preserve consistency and shelf life.
- Keep the bottle upright to prevent leakage and to maintain an even formulation inside the container.
Don’t: expose the product to light or leave caps loose
- Avoid leaving the cap off or loosely closed; air exposure can thicken the product at the neck and lead to wasted product.
- Do not store near lamps or windows where ambient curing light may gradually affect the gel.
Using a no-HEMA base coat gel correctly preserves nail health while delivering the adhesion needed for longer wear. For those tracking cost, the current price is listed as $8.99 but may change. For a detailed product reference and to view the packaging features mentioned above, see this link:
Next step: prepare a single nail as a mini test—follow the do’s above and inspect the finish before completing a full set.