
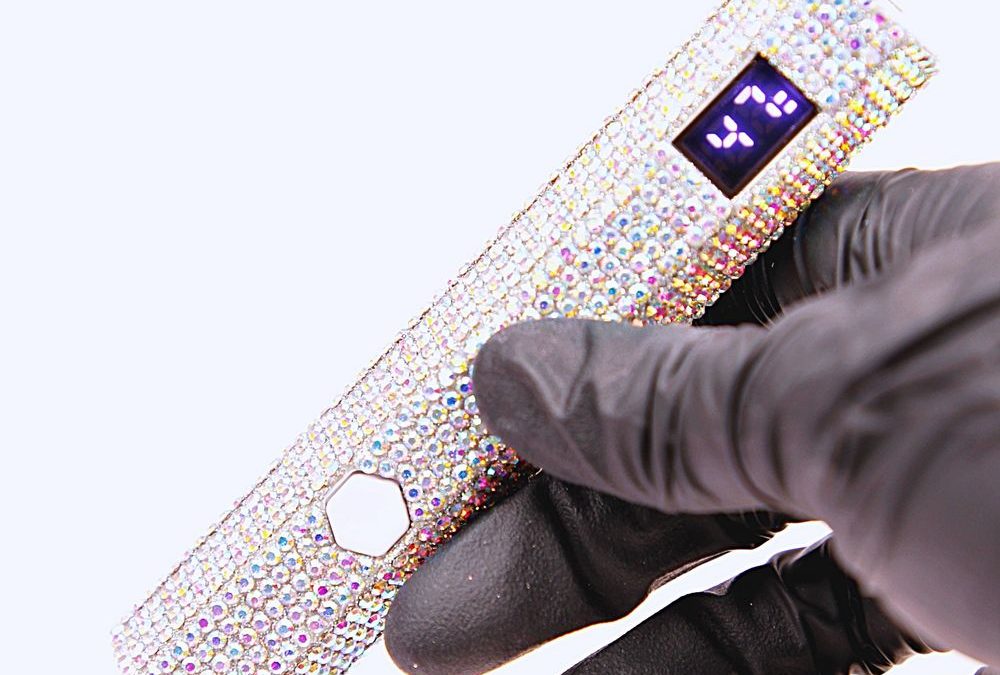
Unexpectedly, a tool that reads like an accessory also demands methodical handling. A rhinestone-covered handheld UV lamp blends glam with function, but its small size and cordless design change typical workflows. This article, written from the perspective of a seasoned salon owner, breaks prep, use, cleanup and storage into explicit do’s and don’ts so at-home nail fans can work faster while avoiding common pitfalls.
Prepare your workspace
Do: organize and protect surfaces
- Lay down a clean mat: use a non-porous mat or paper towel to protect the tabletop from gel spills and to keep the lamp free of sticky residue.
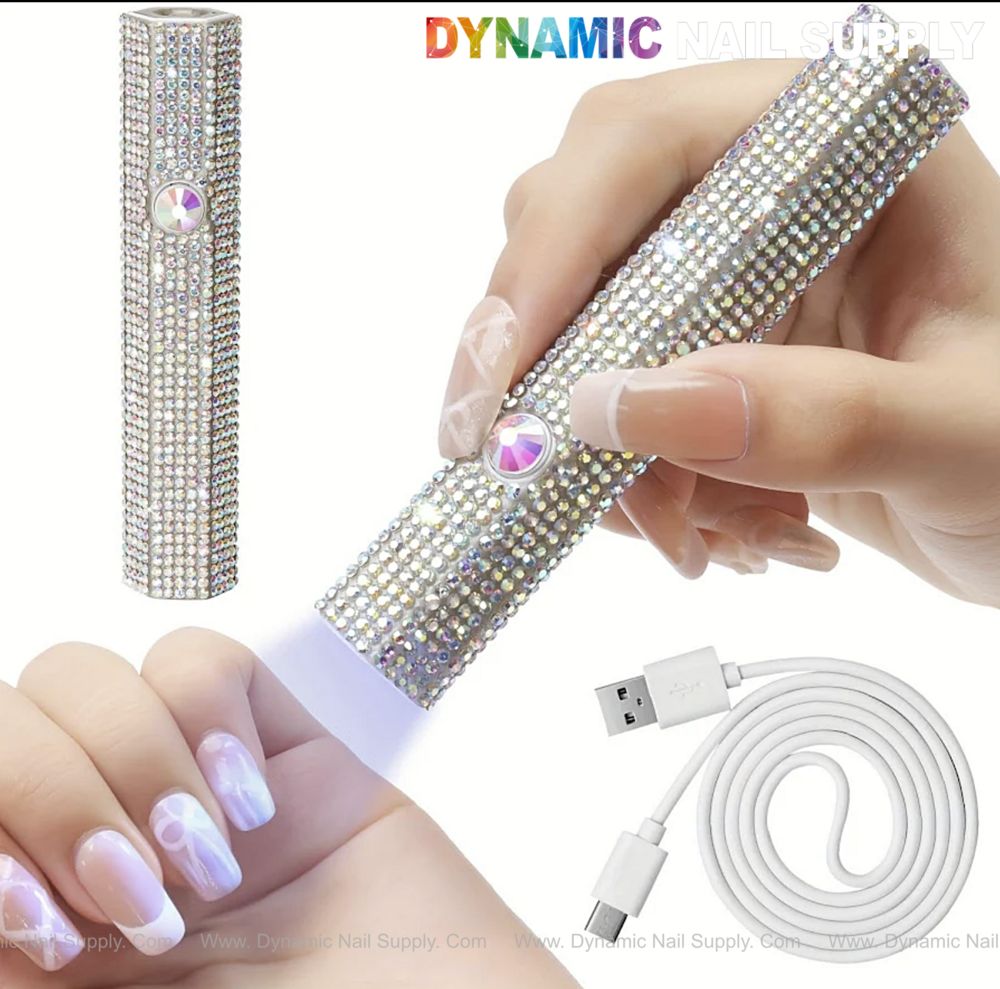
- Gather supplies in advance: have gel, base/top coat, lint-free wipes and the Type-C charging cable within reach to avoid handling the lamp with product-covered hands.
- Check battery level: confirm the lamp has sufficient charge before starting—its built-in battery is small and intended for cordless, on-the-go use.
Don’t: skip inspection
- Don’t begin a service without inspecting the device surface for loose crystals or debris that could fall onto wet gel.
- Don’t place the lamp near open liquids or solvents that can be spilled and damage the finish or electronics.
Use the lamp correctly
Do: cure in short, controlled bursts
- Select the appropriate timer: use the short setting for thin gel layers and the longer setting for builder or extension layers so each layer cures evenly.
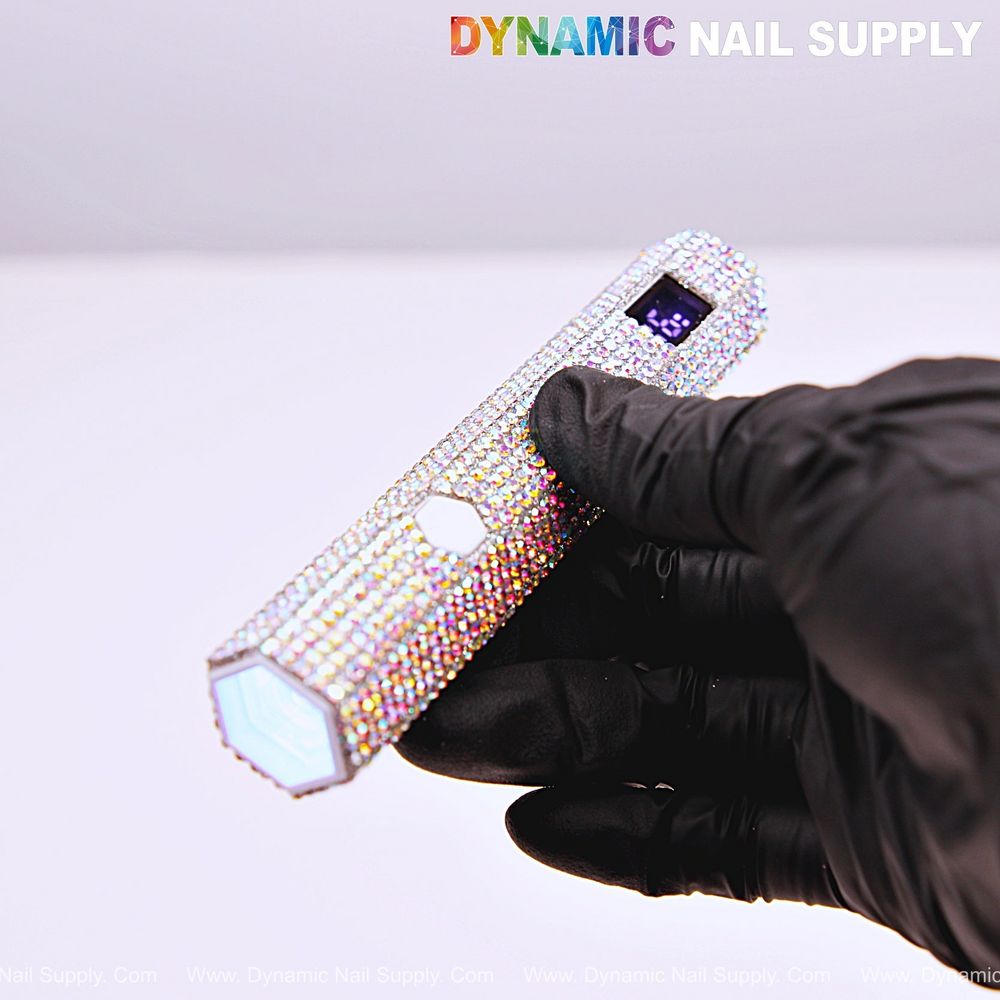
- Hold the lamp steady: keep the light close to the nail but avoid touching wet gel; the small hexagonal body and light output make targeted curing straightforward.
- Work nail-by-nail: cure each nail or each layer separately to ensure consistent results, especially when using thicker products.
- Protect skin and eyes: direct UV/LED light should be kept away from eyes and prolonged exposure to bare skin should be minimized; consider finger shields or short exposure times.
Don’t: overexpose or multitask
- Don’t use longer than recommended times in an attempt to speed cure—this can cause uneven hardening and overheating of the product.
- Don’t wave the lamp around rapidly; moving light can lead to undercured spots or uneven gloss.
For a quick reference to the specific rhinestone-studded handheld lamp featured here, see the product summary below:
Clean the lamp after use
Do: remove residue carefully
- Wipe with a dry, lint-free cloth: remove dust and any loose particles from the crystal-covered surface first to preserve the decorative finish.
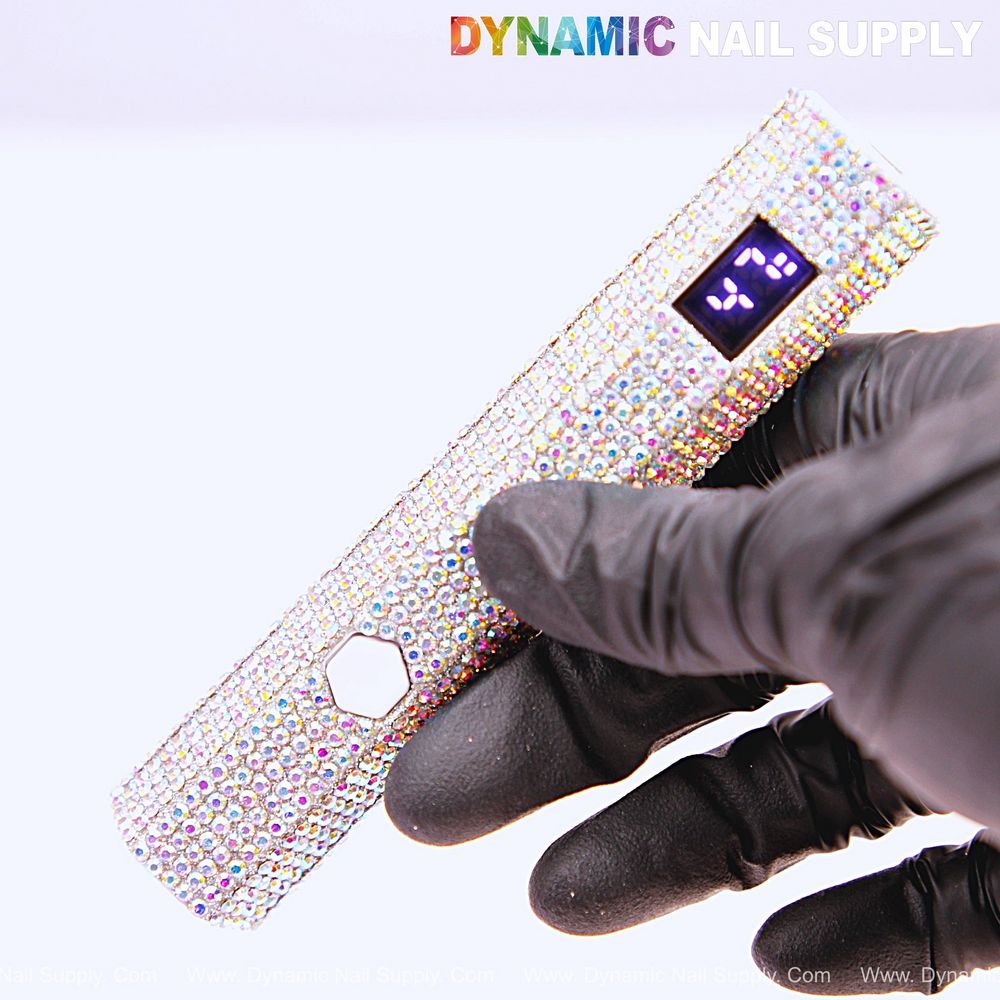
- Use minimal moisture: if necessary, lightly dampen a cloth with isopropyl alcohol and dab gently around the button and display—avoid saturating seams where liquid could enter.
- Keep the lens clear: clean the light-emitting window with a soft wipe so curing power isn’t diminished by residue.
Don’t: submerge or scrape
- Don’t immerse the device or run it under water; the small rechargeable battery and electronic components are not designed for submersion.
- Don’t use sharp tools to pry at rhinestones or the display; abrasive action may dislodge decorations or scratch the lens.
Common mistake: wiping aggressively with solvent-soaked cotton can lift decorative stones and cloud the display—always start with a dry wipe and follow with minimal damp cleaning.
Store the lamp properly
Do: choose a gentle storage spot
- Keep it in a padded pouch: a soft bag prevents crystals from rubbing and reduces the chance of chipping during transport.
- Store at moderate temperature: avoid extreme heat or cold which can affect battery lifespan and adhesive holding the rhinestones.
- Disconnect before long storage: top up the charge occasionally if the lamp sits unused to preserve battery health.
Don’t: toss into crowded bags
- Don’t cram the lamp into a makeup bag with sharp metal tools or loose items that could abrade the surface or press the power button.
- Don’t leave it in direct sunlight for extended periods; persistent exposure can fade decorative finishes and stress the battery.
Working with a compact, rhinestone-encrusted handheld UV lamp changes some standard salon habits: treat it as both a precision tool and a decorative object. Follow these do’s and don’ts to preserve function and appearance, reduce interruptions during services, and maintain consistent curing. To proceed, charge the lamp and perform a quick test cure on a scrap swatch before doing a full manicure.