
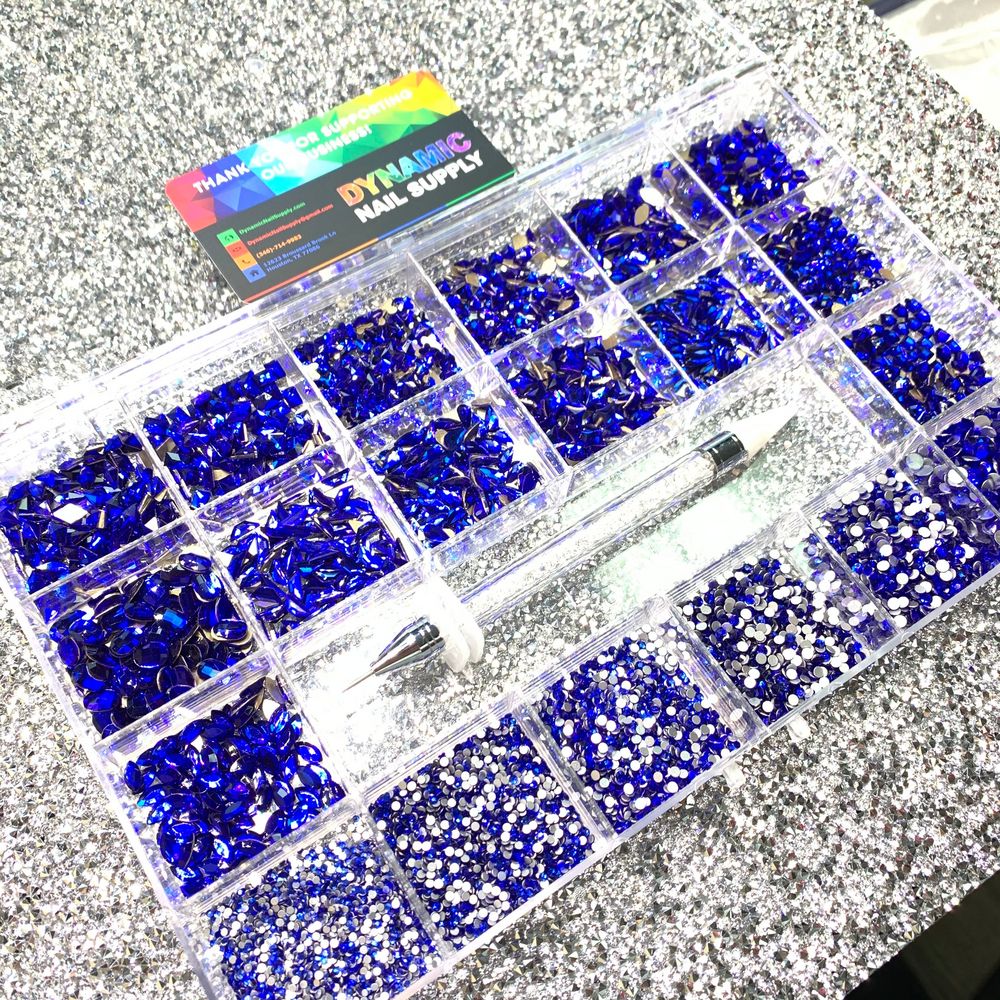
Bright, deep blue crystals make a dramatic statement on nails, but large mixed kits can feel intimidating if you're new to nail art. This guide breaks down one all-in-one royal blue rhinestone kit into simple terms and step-by-step actions so you can start decorating confidently.
What comes in the kit — clear counts, clear purpose
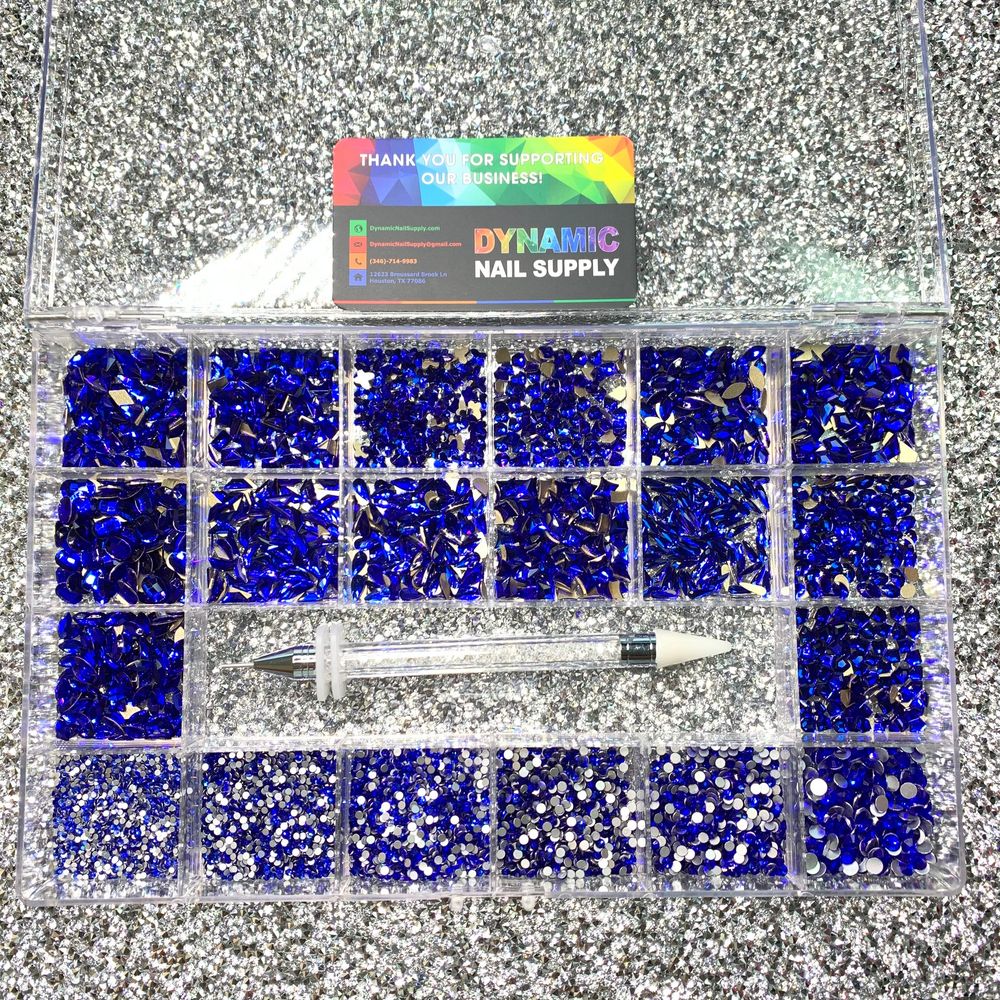
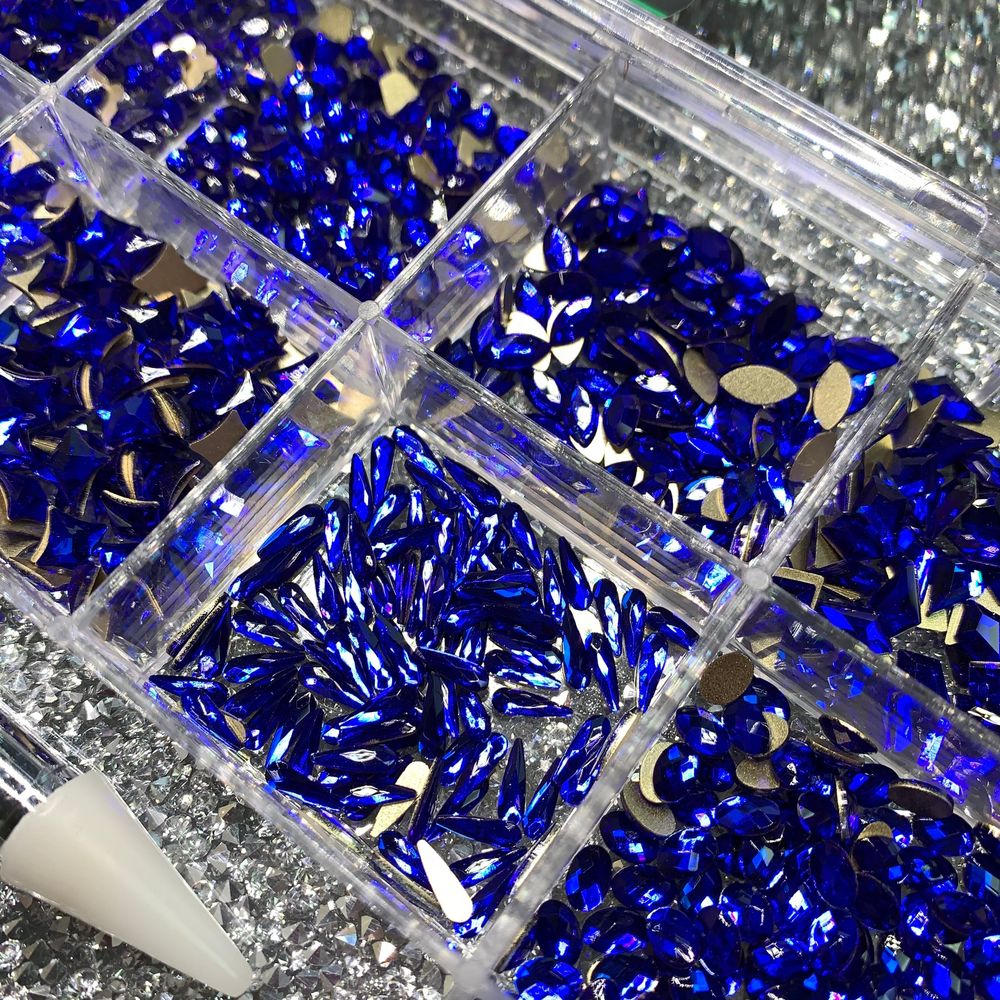
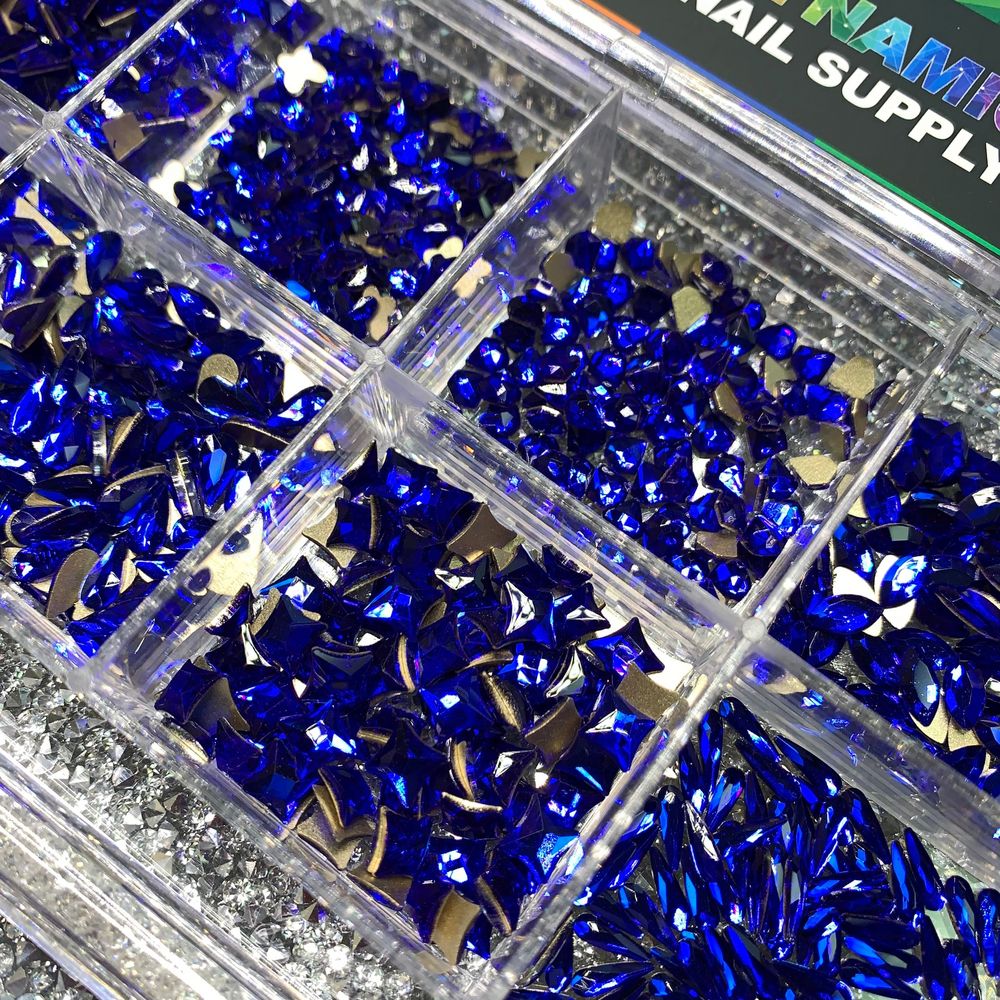
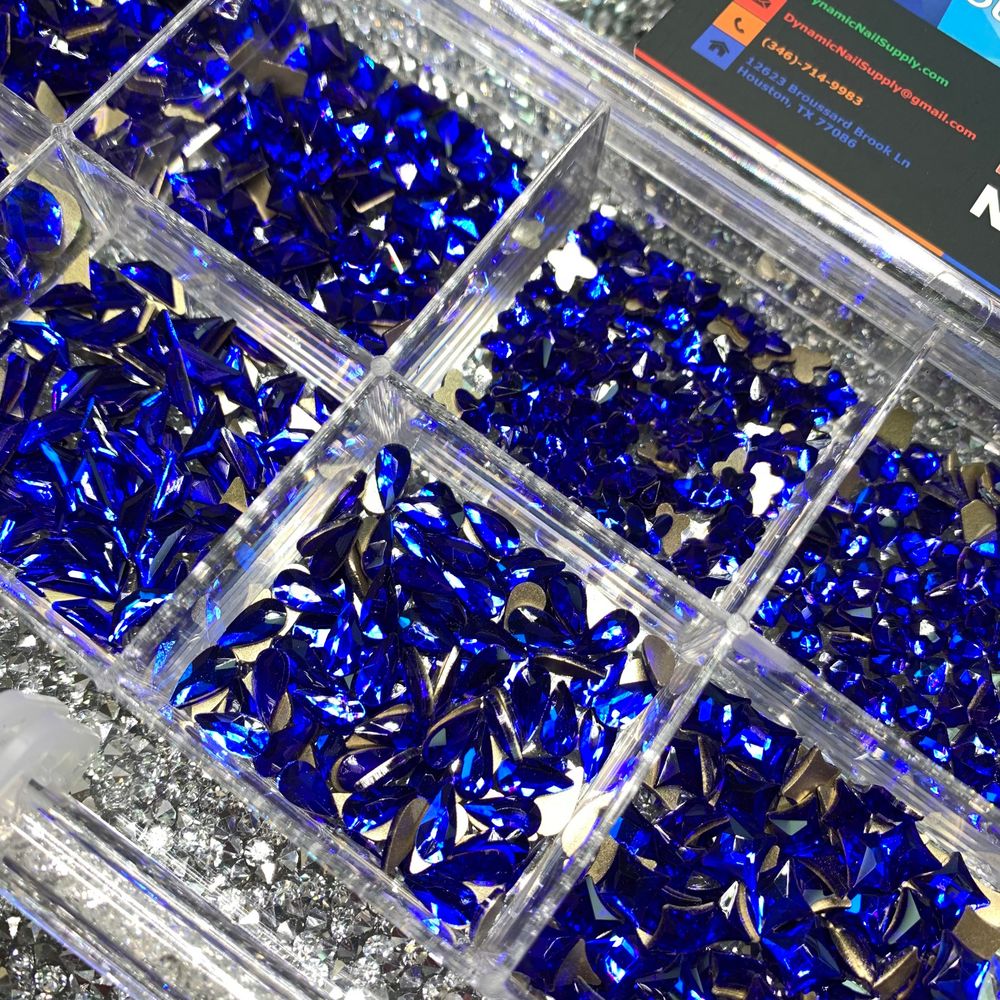
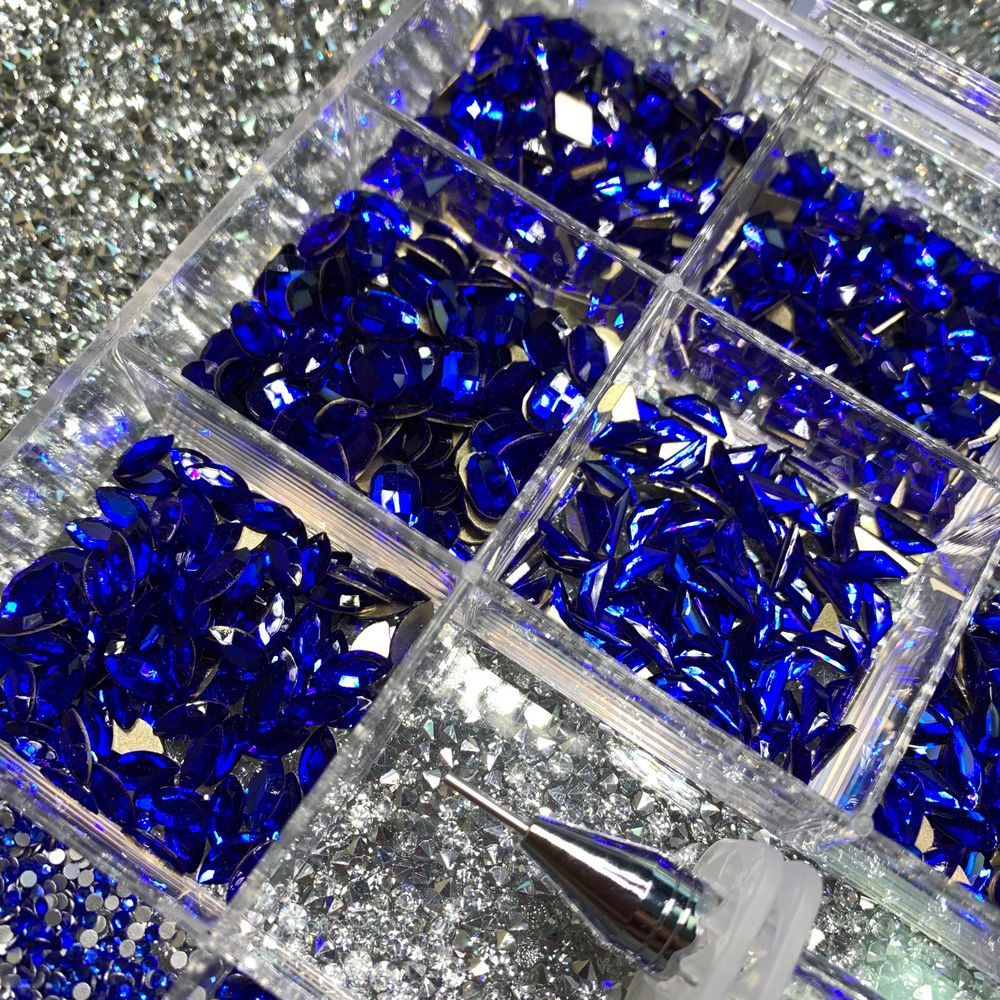
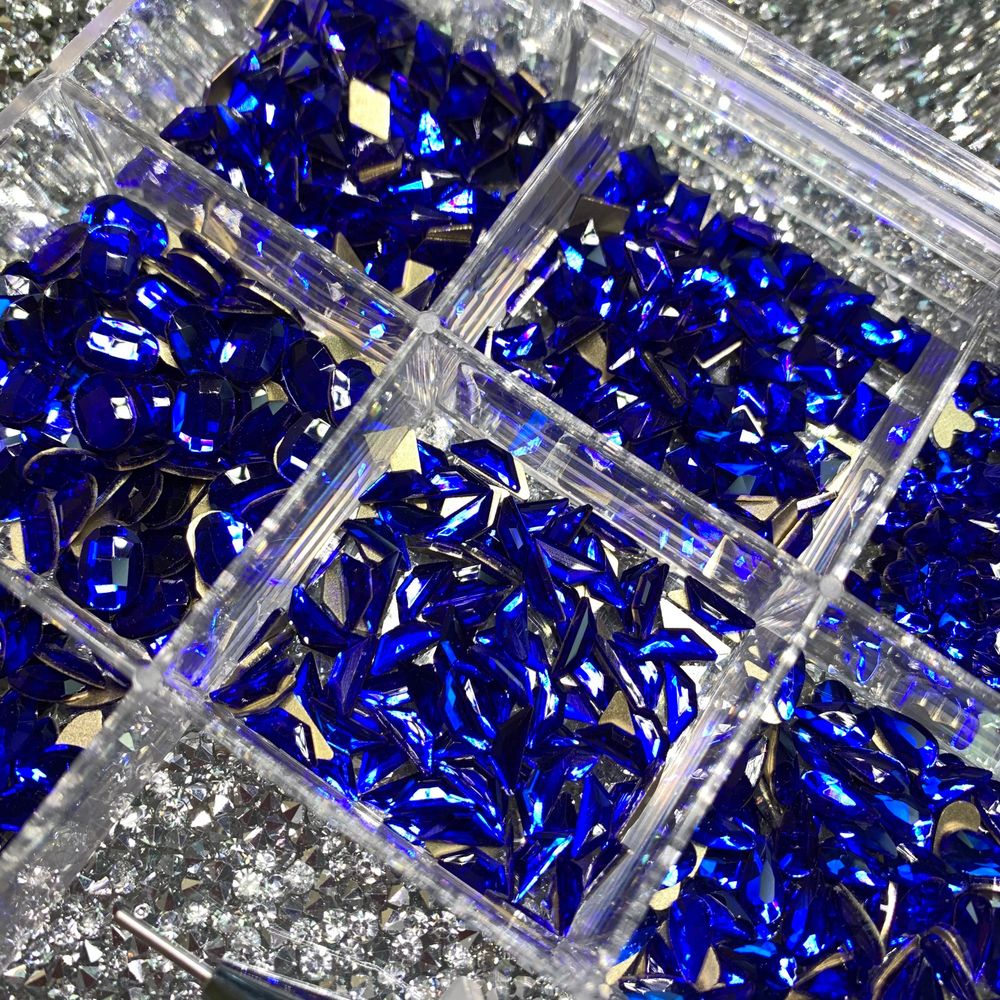
The set contains a total of 7,400 rhinestones divided into two groups: 1,400 larger shaped crystals and 6,000 round crystals. The larger shapes are organized into 14 varieties with roughly 100 pieces of each shape, while the round stones are provided in 6 sizes with more than 1,000 pieces per size. The package also includes a rhinestone picker pen stored in a clear acrylic box, which is handy for handling tiny pieces.
If you want an all-in-one option with strong value and variety, consider royal blue nail rhinestones set sale for a sale-priced kit that keeps many shapes on hand for practice and design work.
Key terms explained for beginners
- Flatback: Rhinestones in this kit are intended to lie flat against the nail surface for easier adhesion and a smooth finish.
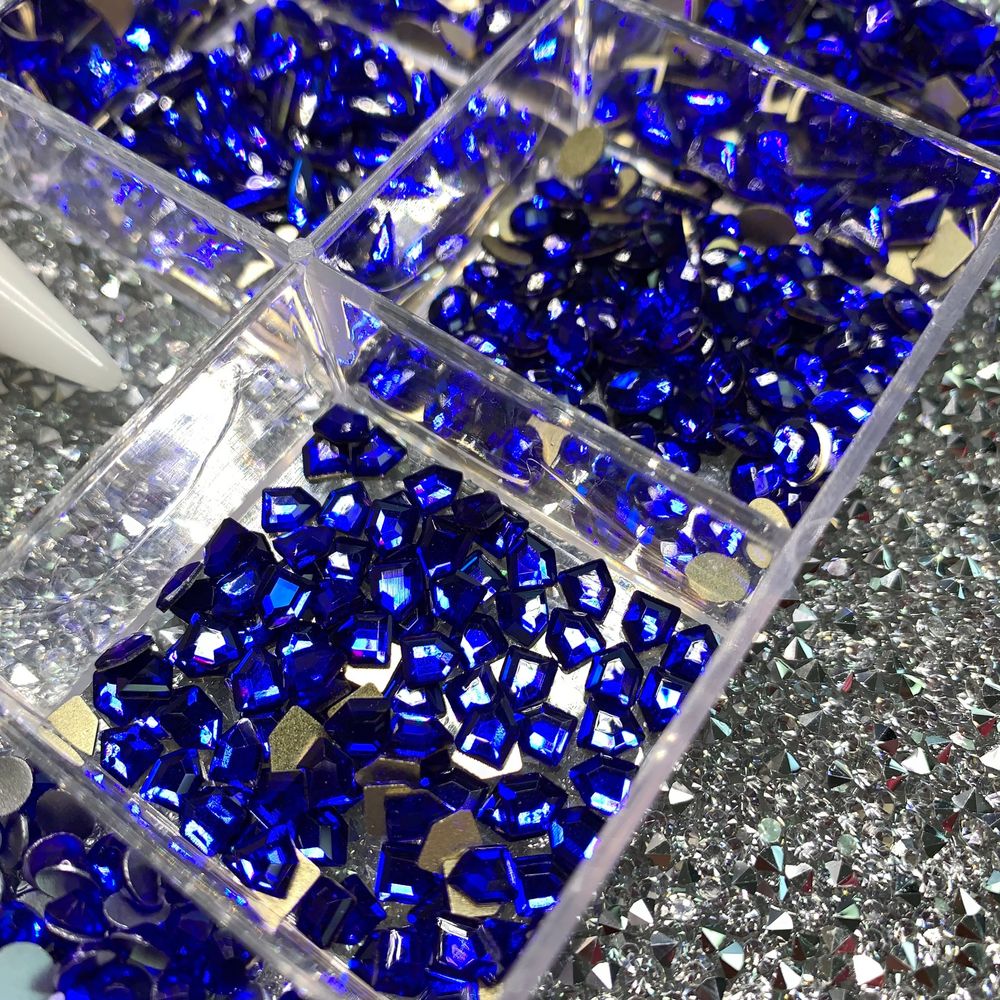
- Big shapes vs. round shapes: Big shapes refer to the 14 distinct geometric or novelty pieces; round shapes are the classic circular crystals offered in several sizes for accents or fills.
- Picker pen: A tool included to pick up and place stones accurately without using fingers or tweezers.
Step-by-step application for lasting results
- Prepare the nail: Start with clean, dry nails. Remove oils and residues with alcohol or a nail cleanser so the adhesion surface is optimal.
- Base and color: Apply your chosen polish or gel color and cure if using gel. A dark or royal blue polish pairs especially well with these crystals for high contrast.
- Choose your adhesive: Use a nail glue, a builder gel, or a sticky base coat depending on the look and wear you want. Apply a small dot where each crystal will sit.
- Place the crystal: Use the included picker pen to lift a stone and position it on the adhesive. Press gently to seat the flatback against the nail surface.
- Secure and finish: Once stones are placed, allow glue to set or cure gel according to the product instructions. For additional security, seal surrounding areas with a thin rim of top coat—avoid covering the entire stone unless using a gel top coat designed for encapsulation.
Design ideas and placement tips
- Start small: practice placing round accent stones down the center of the nail before attempting complex patterns with big shapes.
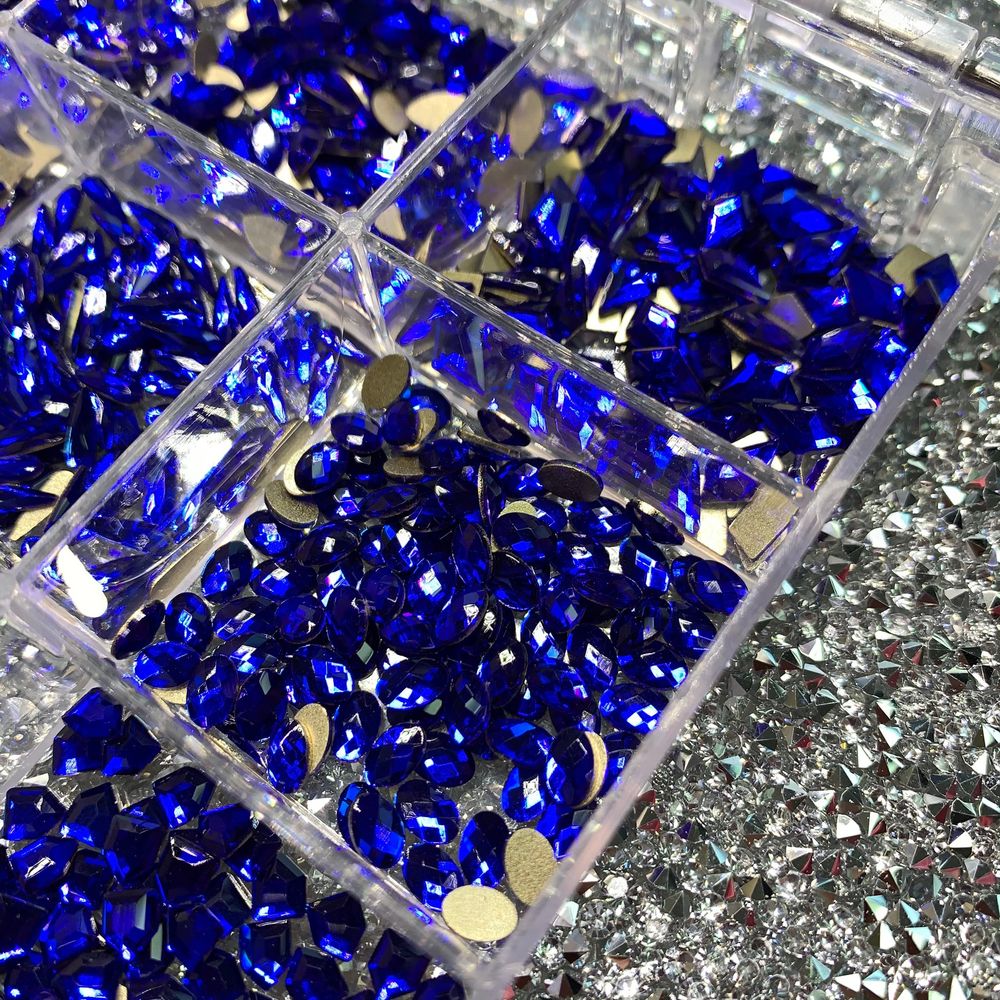
- Mix sizes: use larger shaped crystals as focal points near the cuticle and smaller rounds as complementary sparkles along the free edge.
- Symmetry vs. asymmetry: symmetrical layouts are forgiving and beginner-friendly; asymmetrical placements create a modern, editorial feel once you gain confidence.
- Spacing matters: leave a tiny gap between stones to let the top coat bridge and secure them better.
Key features in context
This kit is organized for practical use: plenty of round stones for repeated practice and 14 different big shapes to explore varied motifs without buying separate packets. The included picker pen and clear acrylic storage box make sorting and selecting stones easier on a worktable. The current promotional price is listed at $75, which reflects a sale from a higher compare-at price; check seller updates for current pricing.
Who should buy this kit?
- Beginner nail artists who want to experiment with multiple shapes and sizes without buying single-shape packs.
- Salons or technicians who need a wide selection for client customization and seasonal designs.
- DIYers preparing for events like holidays or special occasions who want dramatic royal-blue accents in bulk.
Care and safety notes
Keep small rhinestones away from children and pets—these pieces are a choking hazard. Store stones in the provided acrylic box or in labeled containers to prevent loss and to keep your workspace tidy. When using adhesives and gels, follow manufacturer safety and ventilation guidelines to avoid inhalation or skin irritation.
Practical maintenance tips
- Replace or reseat loose stones promptly to prevent catching on fabric or further loosening.
- For longer wear, use gels and cure properly; reapply a thin layer of top coat around the edges of stones periodically.
- Practice removing and reusing stones on tips or display nails to learn adhesive strength and placement without risking client nails.
With a clear organization of counts, an included picker pen, and a large variety of shapes and sizes, this royal blue rhinestone kit simplifies learning and experimentation. Start with simple accents, practice placement using the round stones, then graduate to arranged big-shape focal points—your confidence and designs will grow quickly.
Dynamic Nail Supply carries this kit, making it easy to source for professionals and hobbyists alike.
Conclusion: If you're new to nail crystals, this set provides the quantity and variety to practice many looks without repeated purchases. Follow the step-by-step process above and take advantage of the included picker pen and organized storage to build reliable application skills.